How To Store A Bike For Winter Without Causing Damage
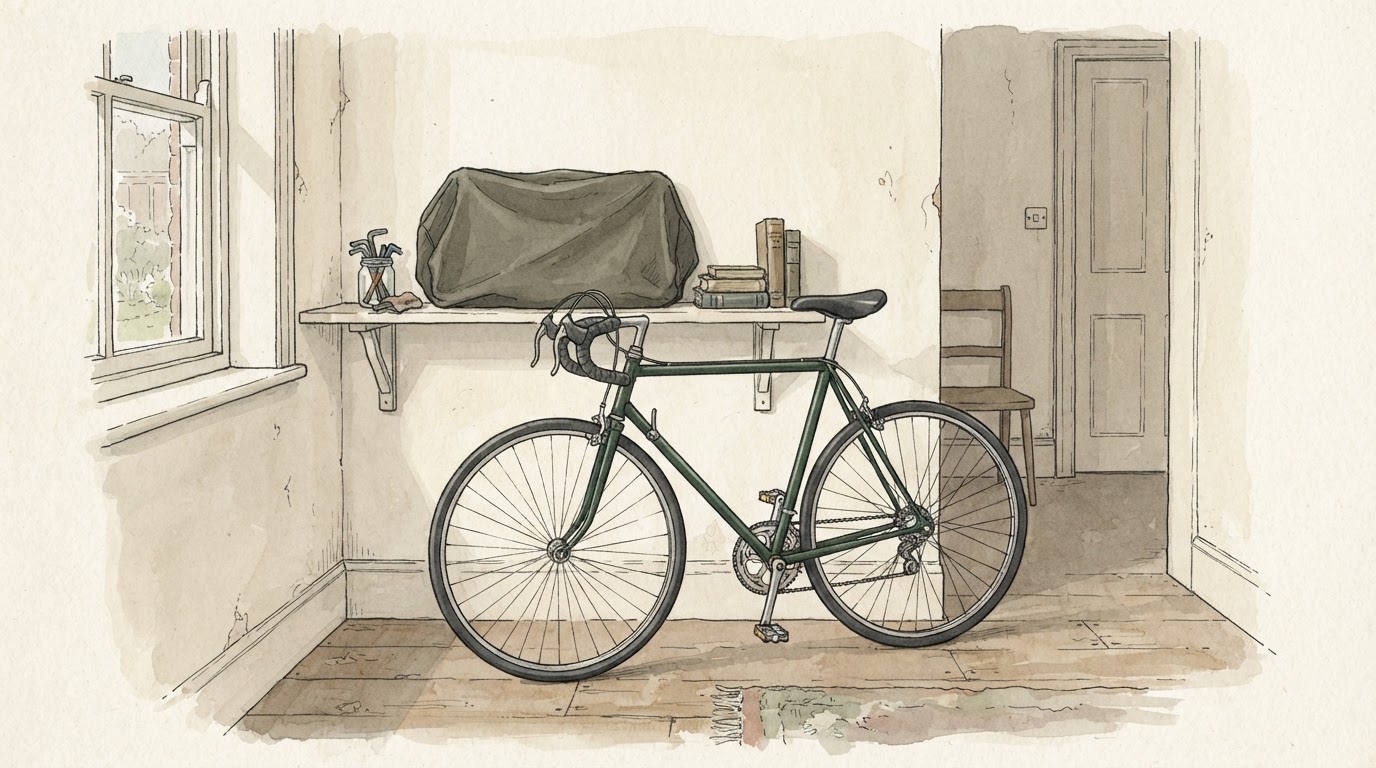
Flat-spotting — permanent deformation of a tyre left under load at low pressure for months — is the most common damage caused by winter storage, and it’s entirely preventable with one action.
As an Amazon Associate we earn from qualifying purchases. This page contains affiliate links — if you buy through them, we earn a small commission at no extra cost to you.
You haven’t ridden for a long time. The weather’s finally decent, you pull the bike out, and the chain is stiff, the tyres are flat, and there’s a layer of surface rust on the cassette. Sound familiar? The bike didn’t go wrong over winter — it went wrong while it was sitting there, untouched.
This is the part most guides miss. They tell you to clean the bike, maybe pump up the tyres, and find a dry corner. That’s not wrong, but it isn’t enough. The gap between “put away clean” and “actually protected” is where most of the damage quietly happens. What follows is the routine that covers what needs covering — including the step nobody talks about.
The Golden Rule: Keep It Dry and Indoors
The single most effective thing you can do for winter storage is get the bike inside somewhere dry. Even a cold shed is better than a damp garage, and a damp garage is better than leaving it in the garden under a tarp. The mechanism is straightforward: moisture drives rust and aluminium corrosion, and temperature swings in unheated outdoor spaces create condensation on metal surfaces. That thin film of water does its work while you’re not looking.
A cover offers some protection from rain and grit, but it’s not a substitute for a dry indoor space. Moisture can accumulate underneath a cover, especially if the bike went in wet, and the cover itself can trap humidity against the frame. A cover on a bike in a damp garage is marginally better than no cover, but a bike in a dry hallway with no cover is significantly better than a covered bike in a damp garage.
Indoor storage in a dry space — a hallway, a spare room, an insulated shed — removes the bike from that cycle entirely. Conservation guidance for metal objects recommends controlling humidity levels to prevent corrosion. In winter, many UK homes maintain reasonable humidity levels for bike storage without special equipment.
What doesn’t count as indoor storage: a single-skin brick shed with no insulation and no ventilation, in January, in Manchester. That environment can be as damp as outside; colder air holds less moisture, but brick that was wet when it was built stays wet for years. A bike stored in an unheated outbuilding can pick up surface rust even when it is covered. If your shed has damp walls, the bike needs to be somewhere else. A quick visual check once a month during storage is the practical minimum to catch any rust or damage early.
Tyre Pressure: Avoiding Flat-Spotting
Tyres lose pressure over time. Inner tubes aren’t perfectly impermeable, and even a tyre with a flawless valve will bleed a few psi per month. Tyres lose pressure gradually over weeks of storage. That might not sound catastrophic, but it depends what happens next.
The failure mode that nobody expects is the snakebite puncture. This happens when a tyre is underinflated and the rim pinches the inner tube against a pothole, kerb, or sharp edge. You get two small holes side by side — the classic snakebite signature — and a flat tyre that needs a new inner tube. Riders who haven’t encountered one often assume the tyre just wore through or picked up a nail. The mechanism is the rim crushing the tube from both sides, and it happens on a stationary bike sitting on a hard floor if the tyre pressure is too low and the floor is uneven, or when you finally take the bike out and hit a pothole before checking the pressure.
You should not deflate tyres for winter storage, as underinflation creates more risks than benefits. A flat or soft tyre puts uneven pressure on the inner tube, can cause the tyre to seat incorrectly on the rim, and if the bike falls over while stored, the tube can pinch against the rim. The fix is straightforward: check tyre pressure once a month during storage and inflate to the recommended psi before putting the bike away. If you’re not sure what the recommended pressure is, it’s printed on the sidewall of the tyre — look for the number with “psi” or “bar” after it. Don’t guess. A decent track pump with a gauge costs less than a new inner tube and will last for years.
Drivetrain Protection: The Overlooked Step
Here’s the bit that almost every storage guide skips. You clean the bike, you lube the chain, you put it away — and you come back in March to find a chain that bends stiffly, a cassette with rust streaks, and a grinding sensation when you pedal. What happened?
Chain lubricant can trap moisture against metal surfaces during storage. Over long static periods, this moisture can promote corrosion at chain-pin interfaces. The lubricant itself may also thicken or oxidise, creating a sticky residue that affects chain mobility. The bike looks fine, but the drivetrain is quietly compromised.
The step that prevents this is removing the chain, wiping it completely dry to bare metal, and storing it separately wrapped in oiled paper or a plastic bag with a small amount of oil inside. The oil in the wrapping prevents surface rust while the chain isn’t exposed to airborne moisture. When you want to ride again, you refit the clean, dry chain and relube it. An alternative that works almost as well is coating the chain in heavy grease — which seals the link faces — and hanging the bike so no weight is on the drivetrain. The grease approach is less reliable because gravity and any small movement can still let moisture in at the contact points.
This step requires some care and makes a huge difference between a drivetrain that works well in spring and one that’s damaged. Long-term storage without proper chain preparation can result in chains that become stiff and require replacement. A new chain costs more than a few minutes of prevention.
If you’re storing the bike for short periods, just make sure the chain is clean and lightly oiled. For longer storage periods, the chain removal step is worth the effort.
Now you know what the job involves — Get the Free Bike Care Checklist to keep these steps somewhere you’ll actually find them when October comes around.
Cleaning and Drying: Salt Removal
Before the bike goes into storage, it needs to be genuinely clean — not “good enough” clean, but salt-free clean. UK winter roads get salted, and salt is aggressively corrosive on aluminium rims and steel components. A bike that went into storage with road salt still on it is already under attack.
Wipe down the frame, fork, and drivetrain area with a damp rag and a bike-specific cleaner. For rim brakes, pay attention to the braking surface on the rims; salt residue here accelerates oxidation of the aluminium and can affect braking feel when you ride again. If there’s a lot of grime or old lube buildup, wash the bike properly with a dedicated cleaner and a brush to get into the crevices around the bottom bracket, rear derailleur, and cable stops.
Then dry it. Thoroughly. This is not optional. Residual water sitting on metal surfaces is the corrosion medium that turns a clean bike into a rusty one. Use an airline if you have one, a dedicated bike dryer, or a soft towel, but make sure the bike is fully dry before it goes away. Pay particular attention to the chainstay, seatstays, and anywhere water can pool in a joint or around a bolt head.
A bike-specific cleaner like Muc-Off Nano Tech (paid link) Cleaner is aimed at general dirt and road grime, though heavy oil and grease may need a separate degreaser step first. The cleaner is most effective as part of a wash-then-dry process — spraying it on and leaving it to dry without rinsing can leave residue that attracts more dirt.
See Muc-Off Nano Tech on Amazon → (paid link)
E-Bike Battery Storage
If you have an e-bike, the battery needs its own specific handling. Lithium-ion cells don’t like extreme temperatures, and a UK winter in an unheated shed is not a controlled environment.
Take the battery off the bike and bring it inside. Store it somewhere room temperature — not the airing cupboard, just a shelf or a drawer in the house. Check the charge every few weeks. If it’s dropped below around 50%, charge it back up to roughly 80%. Lithium-ion batteries don’t like being stored at full charge for extended periods, and they don’t like being deeply discharged either. A partial charge state is recommended for long-term storage.
Leaving the battery on the bike in a cold outbuilding can cause the electrolyte to stiffen in cold temperatures, reducing capacity and accelerating degradation. E-bike batteries are not cheap to replace, and the loss in capacity from poor storage is irreversible. The manufacturer’s guidance should always take precedence, but the core principle is simple: warm, partially charged, and checked monthly.
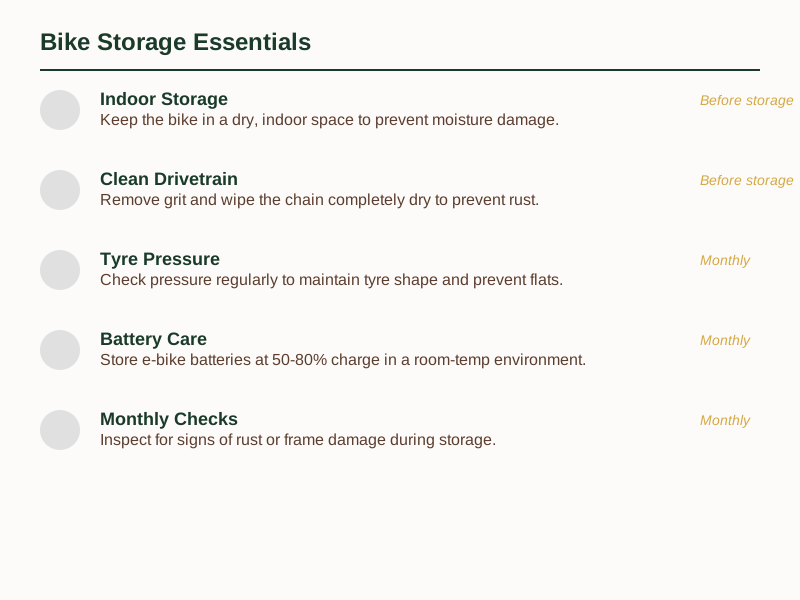
Winter Storage Checklist
| Step | Action | Frequency |
|---|---|---|
| 1 | Move bike to dry indoor space | Before storage |
| 2 | Clean drivetrain and dry completely | Before storage |
| 3 | Check tyre pressure | Monthly |
| 4 | Remove chain (if >3 months) | Before storage |
| 5 | Check e-bike battery charge | Monthly |
| 6 | Inspect for rust or damage | Monthly |
Preparing for Spring Riding
Before your first spring ride, check these three essentials:
- Tyre pressure — inflate to the recommended psi
- Chain condition — lubricate if needed
- Brake pad wear — check for sufficient material
These quick checks ensure your bike is ready to ride safely after winter storage. For the complete spring recommissioning process, see our full guide to preparing your bike for spring riding .
Winter storage isn’t complicated, but it has a sequence. Dry indoor space first. Tyres pumped up and checked monthly. Chain removed, dried, and stored separately if the bike is going away for more than a few months. Bike cleaned and fully dried before it goes in. Battery off and inside if it’s an e-bike. That covers the jobs that matter.
The cost of doing this is a little effort and a bit of oil for the chain. The risks of skipping these steps include needing a new chain, potentially a new cassette, possibly new brake cables if the housings have seized, and a battery that holds far less charge than it should. The maths is obvious.
The checklist pulls all of this together in a single page you can stick on a cupboard door or keep on your phone. Everything you need to check, in the right order, with the steps that matter most flagged clearly.
Get the Free Bike Care Checklist and your bike will be ready to ride the moment the weather improves — not a three-week repair project.
Related Guides
For a complete overview, see our How To Store A Bike In A Flat Or Small Apartment UK .
Sources & Further Reading
As an Amazon Associate we earn from qualifying purchases. The products linked above are ones we think are worth a look.
Note: General guidance only, verify details with a qualified professional or official source.