Rim Brakes Squeaking — Why It Happens And How To Fix It
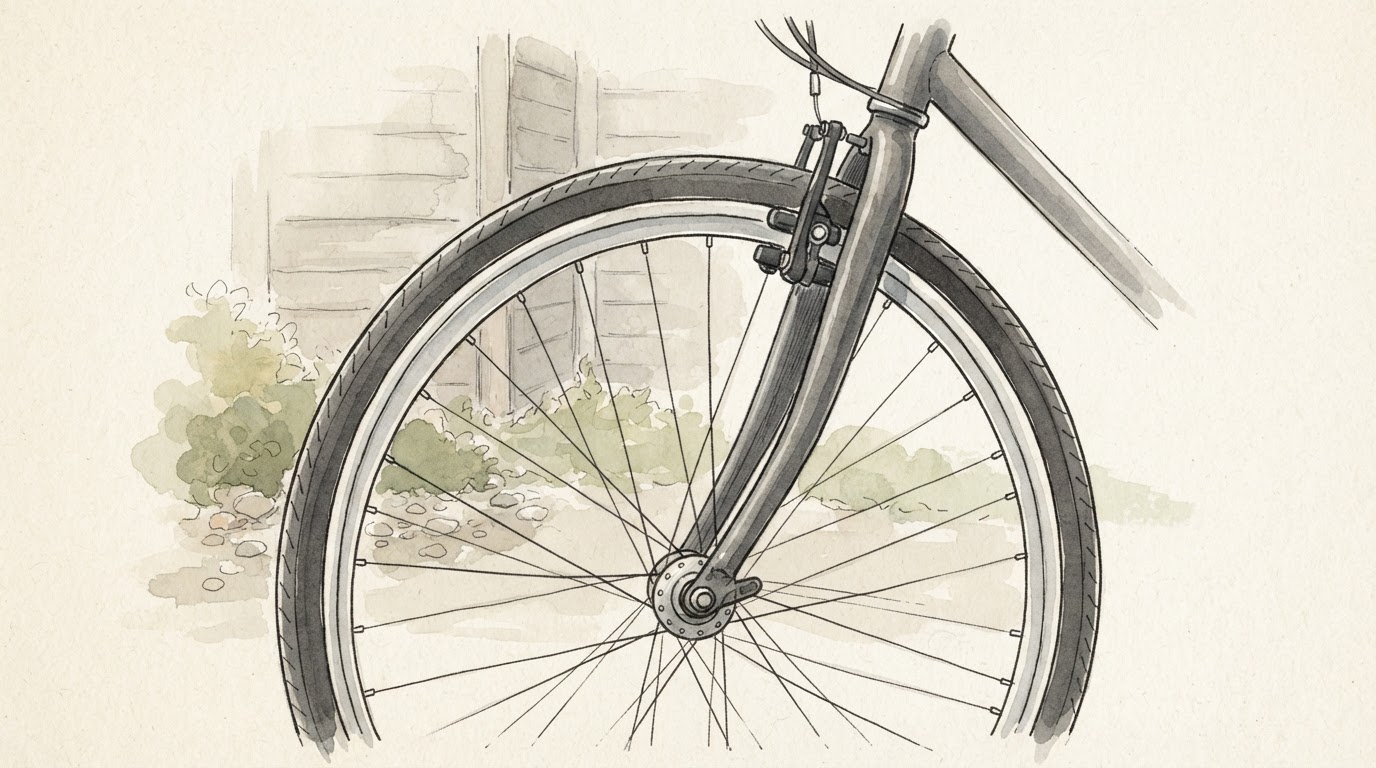
Rim brake pads must contact the rim with the leading edge 1–2mm closer than the trailing edge — a setup called toe-in. Without this angle, the entire pad surface grabs the rim simultaneously, creating vibrations that resonate as a high-pitched squeal.
Brake squeal is fundamentally a vibration problem, not just a cleanliness issue. While contamination amplifies noise, the root cause is often mechanical alignment. Understanding this distinction saves time and money — most squeals can be fixed with simple adjustments rather than new parts.
Diagnosing the source of brake noise
A brake pad grabbing a rim creates friction, which can vibrate. When contact isn’t smooth, the pad sticks and slips rapidly against the rim surface — this stick-slip oscillation resonates through the brake system producing the characteristic squeal. It’s similar to how a violin string produces sound: vibration creates noise.
The primary triggers for this vibration are contamination and misalignment. Contamination from oil, degreaser residue, or chain lube overspray creates a slippery film that makes pads slip erratically. Misalignment occurs when brake pads contact the rim flat across their entire surface simultaneously, maximising the stick-slip effect.
A common frustration occurs when brakes continue squealing after thorough cleaning with isopropyl alcohol or even after fitting new pads. This pattern suggests the underlying vibration mechanism remains unaddressed. Cleaning removes contamination but doesn’t correct mechanical alignment issues that drive the noise.
Start with a proper cleaning process
Before adjusting anything, properly clean the braking surfaces. Scrub the rim with a scotch pad and soapy water to remove general grime, then wipe with isopropyl alcohol to eliminate residue from cleaning products or lubricants. Check brake blocks for contamination too — chain lube overspray is particularly problematic if applied recently without protecting rims.
While contamination amplifies squeal, cleaning alone won’t fix misalignment issues. Some riders find dedicated brake cleaners provide a more thorough finish than soapy water alone. The isopropyl wipe removes any remaining film, leaving a clean surface for proper pad contact.
Three critical mistakes to avoid:
- WD-40 on braking surfaces — it leaves an oil film that worsens the problem
- Degreaser on the rim — belongs on the drivetrain, not braking surfaces
- Dry rag as the only step — removes visible dirt but leaves friction-affecting residue
Adjusting pad angle with toe-in technique
When brake pads contact a rim flat and parallel across their entire surface, they grab simultaneously — maximising stick-slip oscillation. Toe-in addresses this by ensuring the leading edge contacts first, easing the pad into the braking surface gradually rather than all at once.
Park Tool and Sheldon Brown documentation both highlight toe-in as an effective mechanical fix for rim brake squeal. The technique works on various rim brake systems including dual-pivot and single-pivot designs.
Here’s the adjustment sequence:
- Loosen the brake block bolts
- Push the pad’s leading edge inward until it just touches the rim
- Insert a 2mm Allen key or folded business card as a shim at the trailing edge
- Tighten the bolts while holding the shim in place, then remove it
When you squeeze the lever, the leading edge contacts first and the pad eases in. The resulting trailing edge gap dampens vibration that causes squealing.
If squealing persists, adjust the gap slightly — more toe-in for stubborn noise, less if braking feels overly snappy or shows uneven wear. Different pad compounds respond to slightly different angles, so minor adjustments might be necessary.
Securing hardware and checking alignment
Loose hardware is another significant cause of rim brake noise. If calipers or brake blocks move fractionally under braking pressure, that movement creates vibration. Work through every bolt systematically: caliper mounting bolts, brake block bolts, and any connecting bolts. Snug them securely without over-tightening to avoid stripped threads.
After tightening, check that brake blocks wear evenly across their contact surface. Uneven wear — more contact at one edge or a polished stripe at the other — indicates incorrect pad angle or potential rim warping. Correct the pad alignment or check rim trueness if wear patterns appear lopsided. Blocks worn past their indicator groove need replacement regardless of other factors.
When component replacement becomes necessary
Pads that are glazed, contaminated, or worn beyond their limit won’t stop squealing through adjustment alone. Lightly sanding glazed pads with fine wet-and-dry paper can restore some grip, but contamination soaked into pad material typically requires replacement.
If squealing persists after thorough cleaning and toe-in adjustment, worn brake arms or pivots may be the culprit — pivot bolts or bushings with developed play create movement that generates vibration. This generally requires professional assessment. Similarly, rims with significant wear or pitting have inconsistent surface texture that adjustment can’t fully compensate for.
Local bike shops can quickly assess rim wall thickness — most offer this check without charge if you’re uncertain about replacement needs.
Moisture on rims can also cause temporary squealing as water reduces friction and causes pads to slip erratically. This usually resolves after a few firm stops once braking heat evaporates the moisture. Persistent squealing when the bike is dry indicates other underlying issues.
Understanding rim brake noise triggers
| Cause | Description | Solution |
|---|---|---|
| Contamination | Oil, degreaser residue, or chain lube on rim surface | Clean with soapy water and isopropyl alcohol |
| Misalignment | Brake pad contacts rim flat, causing vibration | Adjust toe-in for leading-edge contact |
| Loose Hardware | Caliper or brake blocks move under pressure | Tighten all mounting bolts securely |
| Glazed Pads | Pad surface has hardened or worn unevenly | Sand with fine paper or replace |
| Worn Rim | Rim surface has pitting or inconsistent texture | Check wall thickness and replace if needed |

Toe-in adjustment resolves most rim brake squeal by addressing the vibration mechanism directly. Combined with proper cleaning and secure hardware, this approach fixes noise without unnecessary parts replacement.
After adjustments, monitor brake performance over several rides — bedding-in changes may require minor tweaks. If squealing returns after a period of quiet operation, revisit the checklist rather than assuming the problem has fundamentally changed.
Toe-in alignment can shift after heavy rain or hard braking. Recheck pad angle after your first wet ride following any adjustment to ensure settings remain optimal.
Get the Free Bike Care Checklist to track what you’ve checked and monitor changes over time.
Further reading
For detailed troubleshooting of persistent brake noise, see Why Are My Bike Brakes Squeaking — And What Actually Stops It? .
Sources
General guidance only — verify critical safety steps with a qualified professional.