How To Clean Disc Brakes And Rotors Without Ruining The Pads
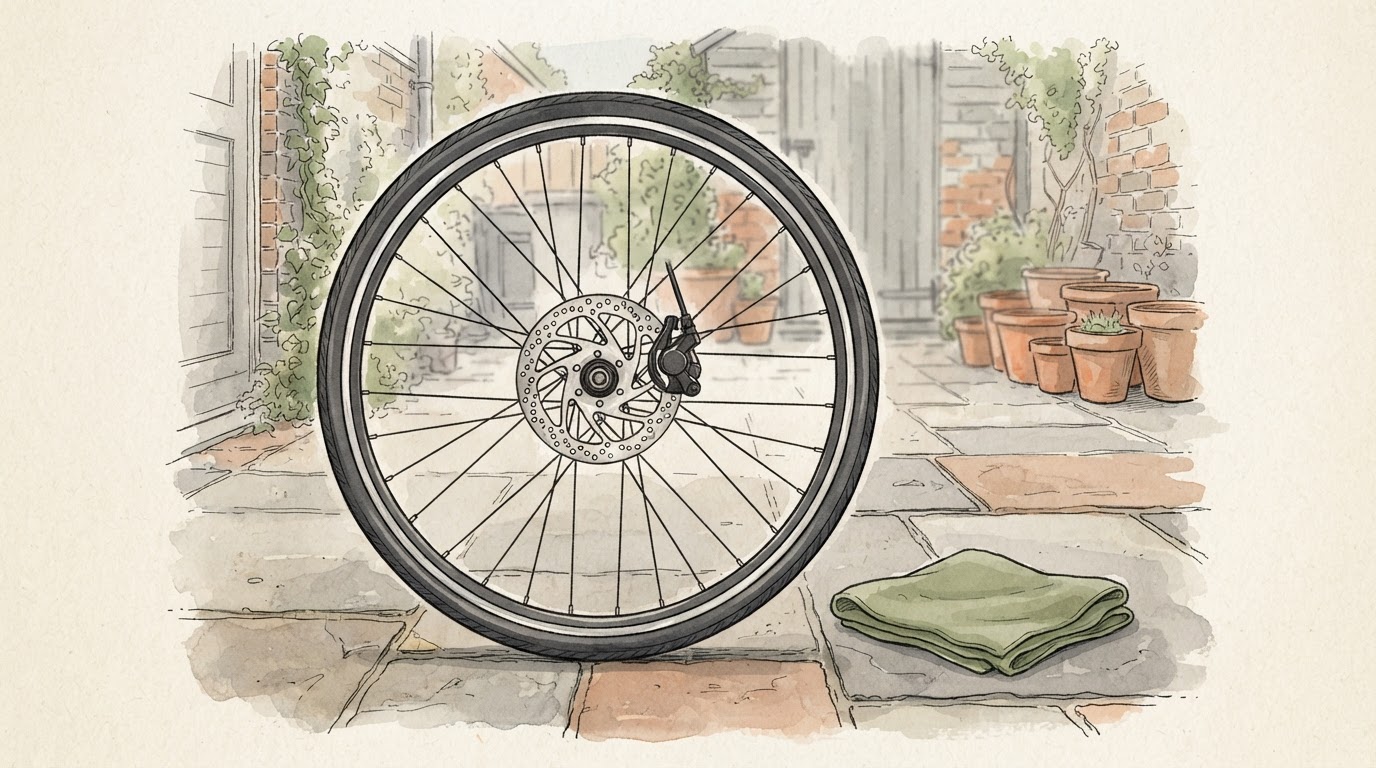
It takes one drop. A single drop of chain lube or degreaser on a disc rotor is enough to contaminate a set of brake pads permanently. This is why rotor cleaning and pad cleaning are separate operations—treat them as one job and you risk carrying contamination from surface to surface. The pads, once oil-soaked, rarely recover. The rotor, cleaned properly, does.
This article focuses on one non-negotiable job: removing contamination without leaving residue behind. The two main approaches—a household cleaner and a commercial one—each do the job well, but for different reasons and in different situations. Knowing which to reach for, and why, is what stops your next ride from starting with that stomach-drop moment.
Why Your Brakes Squeak (And Why It’s Not Always “Bad Brakes”)
Most riders assume squealing brakes mean worn pads or a dodgy rotor. Sometimes that’s true. More often, the noise and the loss of power come from contamination on the braking surfaces—oil, grease, chain lube, or residues from the wrong cleaning products.
The mechanism is straightforward: the pad and rotor need consistent, high-friction contact to slow you down. Any substance between them reduces that friction. The brake still works, but it feels grabbier, louder, and less predictable. Oil or other substances on the disc rotor or pads reduce friction, causing that ear-piercing squeal and mushy feel after a wet ride or a chain clean gone slightly wrong.
Glazed pads—where the surface has been polished hard by heat or age—can also cause noise and fade. A warped rotor is less common but more serious, and it won’t be fixed by cleaning. Misalignment of the caliper is another easily overlooked culprit. Before you buy new pads or assume the rotor is shot, clean the existing surfaces properly and see what changes.
There is a practical test worth knowing. Take a clean white cloth—microfibre works well—and wipe it across the rotor. If it comes away with any discolouration, the rotor isn’t truly clean. That residue is what’s between you and consistent braking.
The stakes matter. Contaminated brakes don’t just squeal; they can fail to stop you properly, particularly in wet conditions where water carries contamination across the braking surface. That is the line between a squeak and a safety issue.
The Household Option: 99% Isopropyl Alcohol
99% isopropyl alcohol (IPA) is a commonly recommended household option for disc rotor cleaning. While disc brake cleaners exist and work well, store-bought 99% IPA is reliable. The reason it works comes down to evaporation and residue.
99% IPA evaporates completely, leaving nothing behind. Lower concentrations—70% or 91%—contain water and other additives that don’t evaporate as cleanly. They leave a faint film that can re-contaminate the braking surface. The next time you ride, that film is doing exactly what you were trying to remove.
Some household wipes can leave residue. They are convenient, but many contain fabric softeners or other conditioning agents that act as lubricants. You are essentially wiping a light lubricant onto your rotor and expecting it to grip. Riders who rely on wipes for a quick clean often find the squealing returns within one ride because the contamination remains trapped under a fresh layer of residue.
The test is simple: spray 99% IPA onto the rotor, wipe with a fresh microfibre cloth, then wipe again with a clean white section of the cloth. If there is any discolouration, spray and wipe again. A rotor that is genuinely clean will show nothing on the cloth. This is also why you should use a cloth that has only ever been used on braking surfaces—a rag that has wiped your chain or been stored in a toolbox is carrying oils you can’t see.
Application is straightforward: spray a small amount onto the rotor, wipe in the direction of the slots (not across them), let it evaporate, and check with a clean cloth.
The one thing it won’t do is fully restore heavily contaminated or glazed pads on its own. For that, you need more.
The Professional Option: Disc Brake Cleaner Spray
Commercial disc brake cleaners are purpose-formulated for a reason. Apply disc brake cleaner spray directly onto your rotors and pads. The fast-evaporating, residue-free formula breaks down grime and glazed pad surfaces. They are the right choice when you have heavy contamination or glazed pads, or are performing a deep clean.
A commercial cleaner helps prepare the braking surfaces for re-bedding—the process of transferring fresh pad material onto the rotor to restore full friction. 99% IPA cleans well but doesn’t drive that re-bedding process the same way.
Watch the overspray, though. A commercial cleaner on your chain, frame graphics, or cables is going to cause problems elsewhere. Mask off the drivetrain with a rag before you spray, particularly if you are working on a bike still set up in a workshop area.
For a one-off deep clean—say, after a winter of wet riding, or before a big event—this is the approach worth using. It is faster, more thorough on heavy grime, and sets up the brakes properly for re-bedding. For regular light maintenance between deep cleans, 99% IPA does the job without the cost.
What About Jif and Other Household Cleaners?
Jif cuts through grease effectively. That might be true for a quick degrease on something that isn’t your brake rotor.
The problem is rinsing. Jif and a nailbrush, rinsed well after with warm water, will cut through grease. There is a risk of residues around the mountings that may cause corrosion over time, and there is no guarantee the rinsing has been thorough enough. It is not designed for the specific job of cleaning braking surfaces, and that matters when the surface in question is the only thing between you and a junction.
If the alternative is Jif or nothing, clean it properly when you can. Don’t rely on a cream cleaner for a precision job.
Re-Bedding Your Brakes After Cleaning
After cleaning, ride slowly and do a few controlled, firm stops to re-bed the pads. This restores proper friction between pad and rotor, giving you maximum braking performance and less noise. Skipping this step is the most common reason brakes feel worse after a clean than before it.
The process is straightforward: find a quiet stretch of flat road or path, get up to a modest speed, and apply the brakes firmly enough to slow significantly without locking the wheel. Repeat eight to ten times, letting the brakes cool between applications. The idea is to transfer a thin layer of pad material onto the rotor, building up the friction surface that cleaning has stripped away.
Avoid dragging the brakes or locking them up—both generate heat that can glaze the pads again. Steady, firm applications are what you want.
After re-bedding, test the brakes at low speed before heading into any fast or technical descents. They should feel powerful, predictable, and quiet.
Now you know what to look for—Get the Free Bike Care Checklist to keep track of your maintenance schedule and make sure brake cleaning doesn’t slip through the cracks between rides.
Frequently Asked Questions
Can I use water to clean my disc brakes?
Yes—soapy water is a common and safe first step for light contamination, particularly after a muddy ride. It won’t harm the rotor or pads. For heavy grease or oil, however, water alone won’t shift it. That is where 99% IPA or a commercial cleaner comes in. Think of soapy water as the pre-wash and the solvent as the actual clean.
Will cleaning my brakes make them worse?
No, not if you use the right products and re-bed the pads afterward. What can make things worse is introducing new contaminants—residues from wipes, residues from lower-concentration cleaners—or cleaning without re-bedding. The friction surface has been removed by the clean; it needs to be rebuilt.
How often should I clean my disc brakes?
It depends on your riding conditions. If you ride in wet, muddy, or gritty conditions, you may need to clean them more frequently—after every few rides in foul weather. A sensible starting point is to clean them whenever you notice a change in performance or noise, adjusting frequency based on your local conditions and riding habits.
For routine light maintenance, 99% isopropyl alcohol is ideal, while disc brake cleaner spray is best for heavy contamination and glazed pads. Household wipes, though convenient, carry a high risk of leaving a silicone residue and are not recommended. Soapy water has a low residue risk and is suitable for a pre-wash after muddy rides, but cream cleaners like Jif are not recommended for brakes due to their high risk of causing corrosion.

Before You Ride: The Safety Checkpoint
Cleaning your disc brakes properly comes down to two things: removing contamination without leaving residue, and rebuilding the friction surface afterward. For routine light cleans, 99% isopropyl alcohol does the job well. For a proper deep clean—especially if the pads are glazed or the contamination is heavy—a commercial disc brake cleaner is the right tool. Jif and similar household creams are a risk not worth taking.
The re-bedding step is not optional. Skip it and even the most thorough clean will leave your brakes feeling worse. Do it properly and they will be quieter, more powerful, and more predictable than they were before.
If you have been dealing with squealing or mushy brakes and cleaning hasn’t occurred to you as the first step, it should be now. Fix the contamination, rebuild the friction surface, and the problem is usually gone. A shop visit only becomes necessary when the pads are worn past their limits, the rotor is warped, or the caliper alignment is genuinely out—none of which a clean will fix.
Before riding in traffic after any cleaning operation, test your brakes at low speed. You want a firm, progressive feel—no sponginess, no grab, no squeal. Only when you have that predictable bite should you head out into faster conditions.
Related Guides
Sources & Further Reading
Note: General guidance only. Always verify specific maintenance procedures with a qualified professional or official manufacturer documentation.