What To Carry For A Bike Puncture — Sensible Saddlebag Kit UK
As an Amazon Associate we earn from qualifying purchases. This page contains affiliate links — if you buy through them, we earn a small commission at no extra cost to you.
That puncture kit you bought years ago? The glue in the patch tubes dries out, patches lose their stickiness, and CO₂ cartridges can slowly leak over time. A kit that worked perfectly when new might fail you when you need it most, especially after being stored through hot summers and cold winters in a saddlebag. This is the reality of ageing puncture repair gear—components degrade, and what seemed sensible at purchase becomes unreliable on the roadside.
A sensible saddlebag kit isn’t about the smallest or cheapest option; it’s about tools that work when you need them, designed for the conditions you actually ride in. The right choice depends on whether you run tubed or tubeless tyres, but the principle remains: reliability matters more than compactness.
When standard kits fall short
Many off-the-shelf puncture kits prioritise low cost and small size, which can compromise their effectiveness when you’re dealing with a flat tyre in typical British weather.
Tyre levers made from basic plastic can become brittle with age and exposure to temperature changes. They may snap or bend when trying to remove a tight-fitting tyre, especially in cold conditions where plastic becomes more rigid. Metal-core levers avoid this risk, maintaining their strength over time regardless of storage conditions.
The bigger issue with many pre-packaged kits is the reliance on vulcanising patch kits that require glue. These patches need clean, dry conditions and several minutes to cure properly—conditions rarely found at the roadside during a UK downpour. While the chemical bond is strong when applied correctly, the practical reality of roadside repairs often means the glue doesn’t dry sufficiently, leading to patch failure.
Building a reliable repair kit
Your saddlebag should contain tools that work together to get you home efficiently. The specific contents depend on your tyre system, but certain items form the core of any reliable kit.
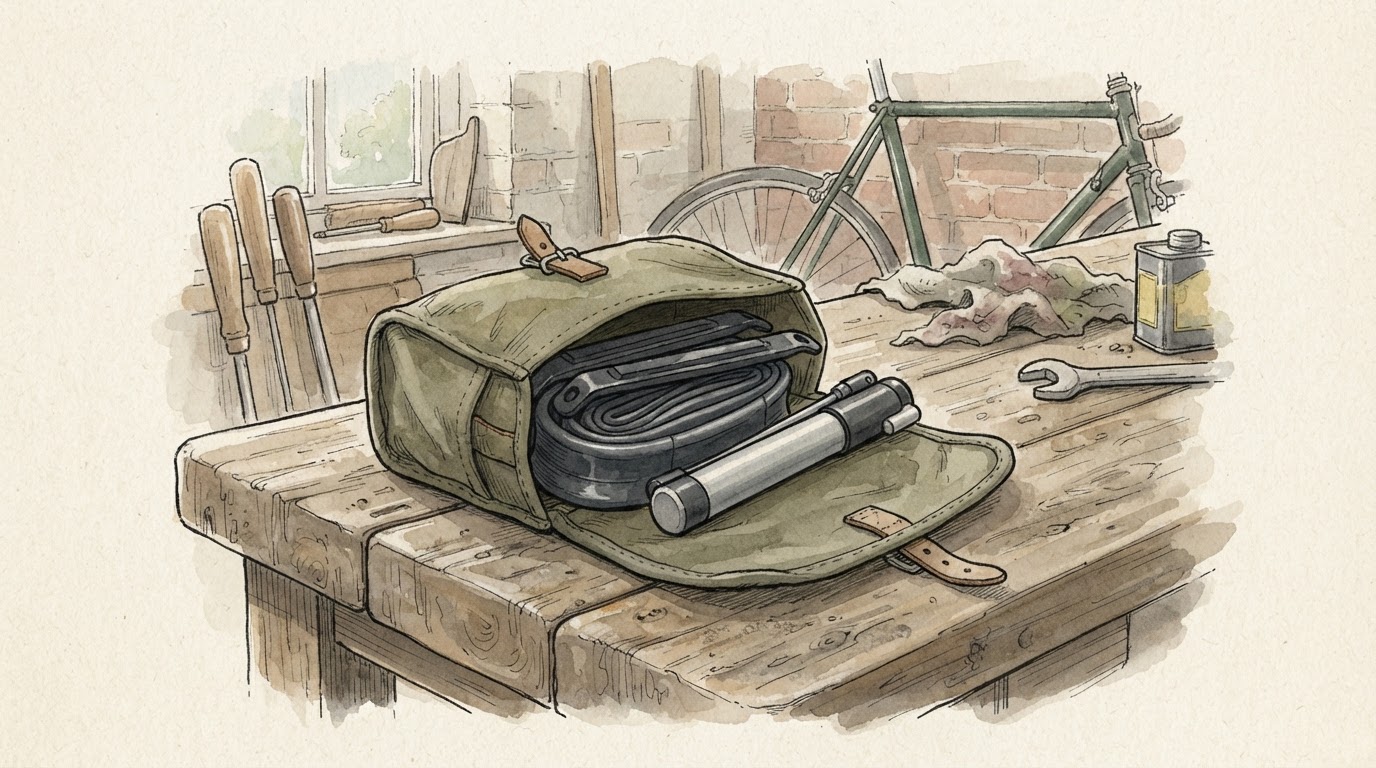
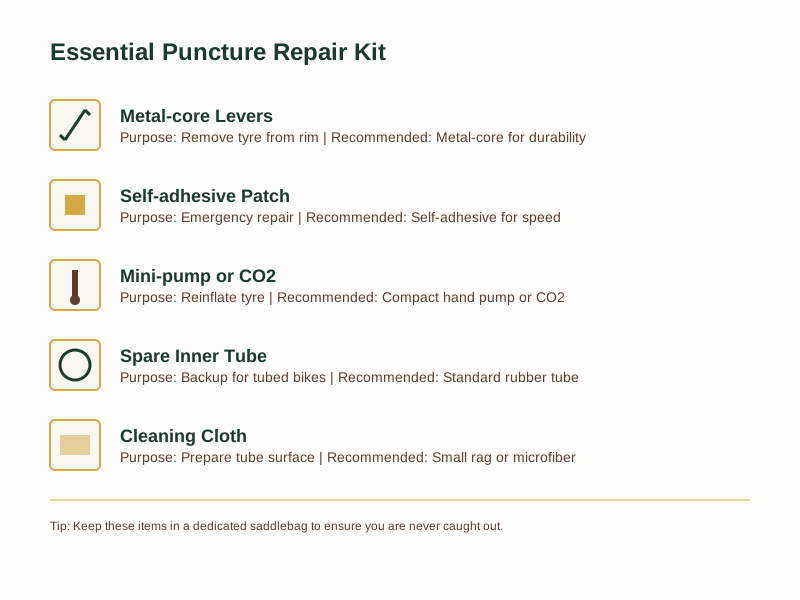
Tyre removal tools should be durable enough to handle repeated use. Metal-core levers provide the leverage needed for stubborn tyres without the risk of breaking. Having two levers makes the job significantly easier—one to hold the bead in place while the other works around the rim.
Emergency repair method needs to suit roadside conditions. For tubed tyres, self-adhesive patches bond instantly without waiting for glue to dry, making them ideal for quick repairs in wet weather. While not as permanent as vulcanised patches, they provide a reliable temporary fix to get you home where you can make a proper repair.
For tubeless systems, a different approach is needed. Puncture plug kits allow you to seal larger holes without removing the wheel, often making them faster than traditional tube repairs. The plugs are inserted directly into the puncture while the tyre remains on the rim, with the sealant helping to secure them in place.
Inflation options balance speed against reliability. CO₂ inflators work quickly but leave you without backup if you need to adjust pressure later. Mini-pumps are slower but can be used repeatedly. Many riders carry both—a CO₂ cartridge for quick inflation and a small pump as backup.
Smart storage prevents kit failure
How you pack your saddlebag affects whether your tools will work when needed. Keeping components organised and protected ensures they remain functional.
Separate your spare tube from sharp tools like tyre levers. Even through fabric, repeated rubbing can eventually wear through a tube’s surface. Using a small bag or dedicated compartment prevents this damage.
A proper saddlebag keeps everything secure and protected from the elements. Look for one with multiple compartments or use small bags inside to organise your kit logically—levers in one section, patches in another, inflation tools separate again.
Regular checks are essential. Before longer rides or every few months, quickly inspect your kit. Ensure patches are still sealed in their packaging, check lever edges for wear, and confirm your pump or inflator functions properly. This simple habit takes moments but prevents discovering faulty equipment when you’re already dealing with a puncture.
Common questions about puncture kits
Can I use tubeless plugs on standard tyres with tubes?
No, plug kits are specifically designed for tubeless systems. Inserting a plug through a tubed tyre would puncture the inner tube rather than sealing it. Stick with patches or a spare tube for traditional tyre setups.
What’s better for inflation—pump or CO₂?
Each has advantages depending on your priorities. CO₂ inflators work rapidly, which is valuable when you’re cold and want to get moving quickly. Mini-pumps are more versatile, allowing you to adjust pressure as needed without carrying multiple cartridges. For most riders not racing against the clock, a reliable mini-pump offers the best balance of convenience and functionality.
How should I organise tools in my saddlebag?
Group items by function and protect delicate components. Keep patches sealed in their original packaging to prevent them drying out. Store tyre levers where they won’t rub against your spare tube. Many riders find that organising tools in the order they’re used—levers first, then patches, then inflation—makes the repair process smoother when you’re working in less-than-ideal conditions.
Matching your kit to your riding
The right puncture kit depends on your specific setup and riding habits. Tubeless riders need plug kits rather than patches. Those running traditional tubes should prioritise reliable levers and quick-applying patches. Commuters might carry a spare tube for fastest repairs, while leisure riders may prefer the compactness of patch kits.
Whatever your choice, the key is ensuring your kit remains functional over time. Regular checks and proper storage prevent the slow degradation that makes many puncture kits unreliable when finally needed.
Putting it all together
A well-organised saddlebag lets you repair a puncture efficiently even in poor conditions. The sequence matters: levers accessible first, then your chosen repair method, followed by inflation tools. Keeping this logical order means you’re not fumbling through your bag with cold hands when you need to work quickly.
Store levers, patches, and your pump in separate pockets or compartments. This organisation means you can find each component by touch alone—valuable when working in low light or adverse weather. For detailed guidance on the repair process itself, our puncture repair guide covers the techniques step by step.
Ready for the road
Being prepared with the right puncture kit means choosing tools designed for real-world conditions rather than ideal scenarios. Metal levers, appropriate patches or plugs for your tyre system, and reliable inflation options form the foundation of a kit that won’t let you down.
Regular maintenance of your repair gear is as important as maintaining your bike itself. Quick checks ensure your tools remain ready when needed, preventing the frustration of discovering degraded components at the worst possible moment.
Get the Free Bike Care Checklist to ensure your entire bike—not just your puncture kit—is properly maintained and ready for whatever the road brings.
Related Guides
For complete repair techniques, see How To Fix A Puncture On A Bike — Patch, Plug Or New Tube .
Sources & Further Reading
- Cycling UK puncture repair guidance
- British Cycling maintenance resources
- Tyre repair product specifications from major manufacturers
As an Amazon Associate we earn from qualifying purchases. The kit linked above is gear we think is worth a look.
Note: General guidance only, verify details with a qualified professional or official source.