Bike Chain Clicking Or Creaking When Pedalling — Where The Noise Comes From
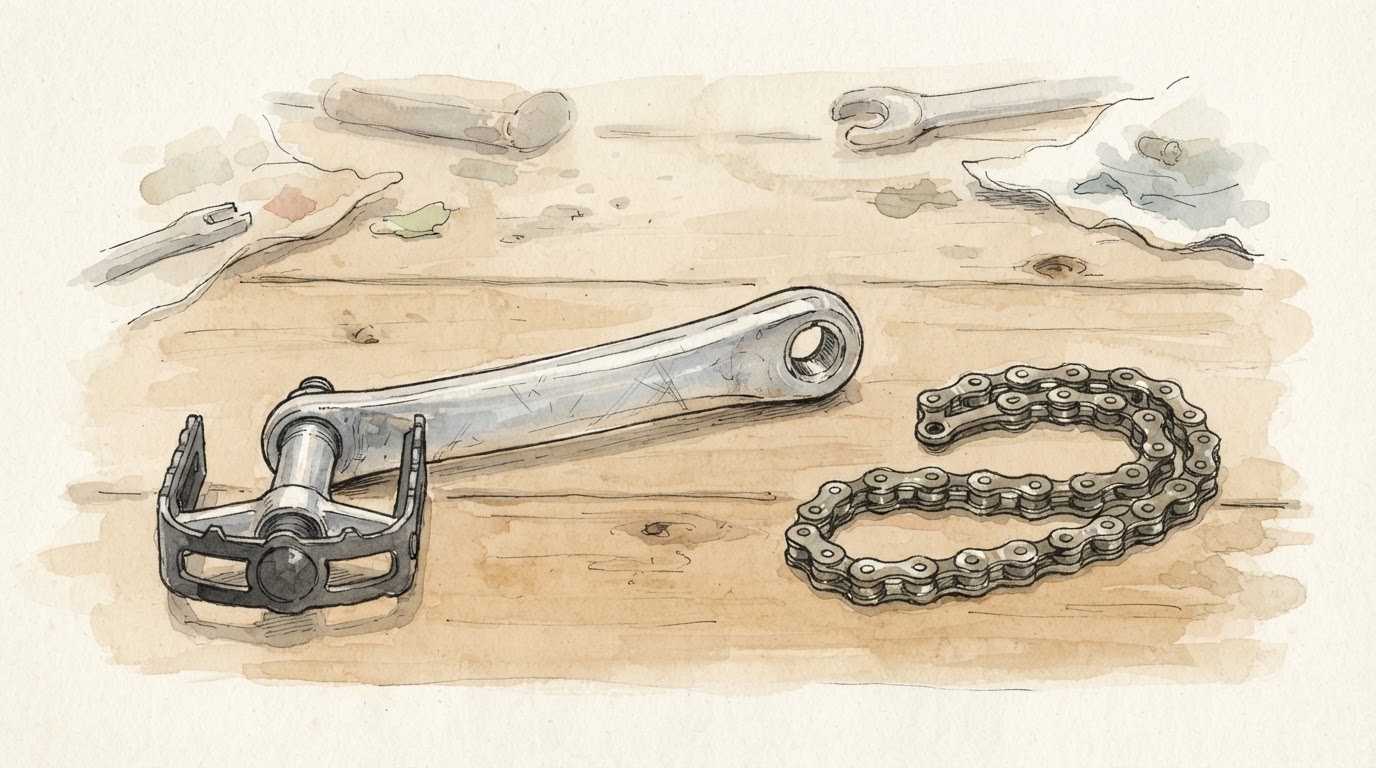
A click that appears on every pedal stroke points to the crankset; a click that appears every few strokes points to the chain. That distinction saves you buying parts you don’t need.
You’ve spent thirty quid on a new chain and the click is still there. That’s not unusual; the chain is almost never the source of a single, rhythmic click that happens once per pedal revolution. Spraying lube everywhere won’t fix it.
The noise lives somewhere else: on the rotating crank, where one component gives you a single jolt every time the pedal comes round.
Here’s what to look for, in order of how likely it is to be the cause.
Distinguishing Chain Noise from Crank Noise
Chain noise and crank noise don’t sound the same. A chain that’s genuinely the problem usually makes a constant buzz or a clatter—multiple links passing over the jockey wheels in quick succession. It might vary with speed, or get worse when the drivetrain is dirty. But it’s not a single, isolated click timed to one point in the pedal stroke.
A click that happens exactly once per revolution is a different animal. Something on the crank arm is loaded once, at the same moment in every cycle. The pedal spindle, the bottom bracket bearing, the interface between crank and spindle—these are all under load at one specific angle. The chain, by contrast, is in constant motion with multiple points of contact. If your noise is rhythmic and single, the chain isn’t it.
The practical test: ride in a low gear and pedal slowly, paying attention to where in the rotation the click lands. If it’s always at the same spot, you’re looking at a crank component, not the chain.
Common Sources of the Single Click
Three places tend to produce that one-click-per-revolution noise, listed roughly in order of how often they show up.
Pedals are a common culprit, particularly on bikes with clipless systems or older pedal bearings that are past their best. Worn bearings inside the pedal body allow a small amount of play, which manifests as a single click under load. Loose cleats on a road shoe can do the same thing; the interface between cleat and pedal isn’t locked, and there’s a tiny bit of movement that produces a sharp click once per rotation. The fix is often as simple as tightening the cleat bolts or swapping pedals to test whether the noise disappears.
Chainring bolts are the most satisfying fix because it’s straightforward and the causation is direct. Each bolt holds the chainring firmly to the spider arms. If even one is loose, the chainring can flex microscopically under torque—enough to produce a click, but not enough to be visible. Tightening the chainring bolts often stops the click straight away. This is the one where the fix and the cause line up cleanly: you tighten the bolt, the movement stops, the click goes away. No parts required.
Bottom bracket bearings can also cause a once-per-revolution click, but this is where the stakes are higher. A bearing that’s beginning to fail will often let you know at a specific crank angle—typically when the arm is in the 2 to 3 o’clock position where the load on the bracket is at its peak. You might feel it as much as hear it: a slight wobble or roughness under power. This is the one to watch. A worn bracket won’t get better on its own, and riding with failing bracket bearings risks the crank arm coming loose.
A useful shorthand from the cycling forums: if the click changes when you shift your weight on the saddle, the problem is more likely at the pedals or bottom bracket. If it stays constant regardless of where you’re sitting, chainring bolts are a good first bet.
Why Replacing the Chain Won’t Help
Let me be direct: if you’re reading this because you’ve already bought a new chain hoping to silence a click, and the click is still there, you haven’t wasted your money entirely—a worn chain accelerates wear on the cassette and chainrings—but it wasn’t the fix for this particular noise.
Chain noise is constant or speed-dependent. It rattles, buzzes, or clatters as multiple links engage and disengage with the teeth on the cassette and chainrings. A single, timed click doesn’t come from that mechanism.
Spraying lubricant on the chain when the source is a loose bolt or dry bearing won’t help. What you’re doing is treating a symptom—the noise—while the mechanical looseness continues underneath. The click might quieten for half a ride if the lube happens to reduce friction somewhere it shouldn’t, but it’ll come back.
The fix lives where the load is applied. That’s the crank, not the chain.
Tracking Down the Source Step by Step
Before you reach for any tools, spend a short ride on the road or the turbo with the noise. Find a flat stretch, clip in if you ride clipless, and pedal slowly in a middle gear. Close your eyes for a few seconds if you can do it safely, and focus on where in the rotation the click lands. Mark it mentally: top of the stroke, downstroke, at the back. Once you’ve got the position, you’ve got your starting point.
Check the pedals first. This is the easiest to test and the cheapest to fix. Stand beside the bike and try rocking each pedal side to side—up and down, not left and right. Any play that isn’t just the spindle turning in the axle is a sign the bearings are shot. If the pedals are old and you’ve been riding in the wet, a click that started a few months back and has been getting gradually worse points to moisture inside the pedal bearing. Swapping to a known-good spare is the fastest diagnostic move if you have one handy. If not, new pedals cost less than a chain and are a straightforward fit.
Move on to the chainring bolts next. These are visible once you look—small hex bolts around the perimeter of the front chainring. With the bike on its side or in a stand, spin the cranks by hand and look at the chainring. It shouldn’t wobble. Press the chainring sideways with a thumb; it shouldn’t flex. If it does, or if any of the bolts spin freely when you touch them with an Allen key, you’ve found it. Tighten to spec—ideally with a torque wrench, but if you don’t have one, snug is enough: firm, not brute-force.
If the pedals and chainring bolts are solid, the bottom bracket is the remaining suspect. Put the bike in a stand, hold the crank arms, and try rocking them sideways—the whole axle, not just the crank. Any play here is bad. Also try spinning the cranks freely with the chain taken off the chainring; a rough or gritty feel means the bearings are contaminated or worn. A click that appears only under load—say, climbing out of the saddle—is the classic bracket symptom, and it tends to hit hardest at the 2 to 3 o’clock crank position where the load on the bracket is highest.
Now you know what you’re looking for—get the Free Bike Care Checklist to work through the full sequence on the bike.
When Professional Help Makes Sense
The bottom bracket is where DIY ends if you’re not comfortable working inside the frame. Press-fit brackets especially require the right tools and the right technique—a badly installed bracket shell can damage the frame. And if there’s play in the bracket bearings, riding until it fails isn’t the safe option.
The signs that it’s time to stop faffing about: any wobble or roughness you can feel when you rock the bottom bracket axle, a click that appeared alongside a change in how the bike feels under power, or simply a noise that survives everything you’ve checked so far. A local shop can strip the bracket, check the condition, and either service it or replace it with the correct spec.
What about a front derailleur click? These do happen, and they’re gear-dependent: the noise appears in certain chainline positions, particularly cross-chaining (big ring to biggest cassette, or small ring to smallest). If your click only shows up in one specific gear combination, the derailleur cage alignment or chainline is worth checking before you assume it’s the crank. But if it happens in every gear regardless of chain position, the crank suspects are still where to start.
Quick Reference: Common Click Sources
| Suspect | Fix Difficulty | Typical Fix | Cost Estimate |
|---|---|---|---|
| Pedals | Easy | Tighten cleats or replace bearings | Low |
| Chainring Bolts | Easy | Tighten hex bolts | Low |
| Bottom Bracket | Hard | Service or replace bearings | High |
| Front Derailleur | Medium | Adjust cage alignment | Low |
| Chain | Medium | Clean or replace | Low-Medium |
Frequently Asked Questions
Why does my bike click only when I stand up to pedal?
Standing increases the load on the pedal and crank significantly. If the click only appears when you’re out of the saddle—particularly on a climb—it’s a strong sign the issue is in the pedal, the bottom bracket, or the crank-spindle interface. A seated click that stops when you stand suggests something that only engages under side-load.
Can I use WD-40 to fix the click?
No. According to WD-40’s own product information, their standard spray is a degreaser, not a lubricant. Spraying it on a dry bearing or a loose bolt won’t fix the mechanical problem—it’ll just remove whatever trace of oil was there. If you need to lubricate a pedal bearing or bottom bracket, use a proper grease or bearing lubricant. For everything else, the fix is tightening, not lubing.
Is a clicking crank dangerous?
A click from loose chainring bolts or worn pedal bearings isn’t an immediate catastrophe, but it won’t improve on its own. Loose bolts can work free further, and worn pedal bearings can eventually allow the axle to seize or break. A bottom bracket click under load is the one to take seriously—if the bearings are failing, continuing to ride risks the crank arm coming loose. If the click is accompanied by any roughness, wobble, or change in how the bike feels under power, get it checked.
The click that keeps you reaching for the chain lube is almost never coming from the chain. Once you’ve heard the difference between a constant chain rattle and a single timed click, the diagnostic path is straightforward: pedals, then chainring bolts, then the bracket. Tighten what needs tightening, replace what’s worn, and stop spraying lubricant at the wrong part of the bike.
Keep a torque wrench or crank bolt key handy for your next bike check. Having the right tool prevents overtightening chainring bolts, which is the most common source of this click. For the complete diagnostic sequence, our guide Why Does My Bike Chain Keep Falling Off — Derailleur Limits, Chain Length And Wear covers the full drivetrain.
If you’re ready to work through the full sequence—brakes, drivetrain, tyres, and storage—grab the Free Bike Care Checklist . It’s everything you need in one place, no account required.
Sources & Further Reading
Note: General guidance only, verify details with a qualified professional or official source.